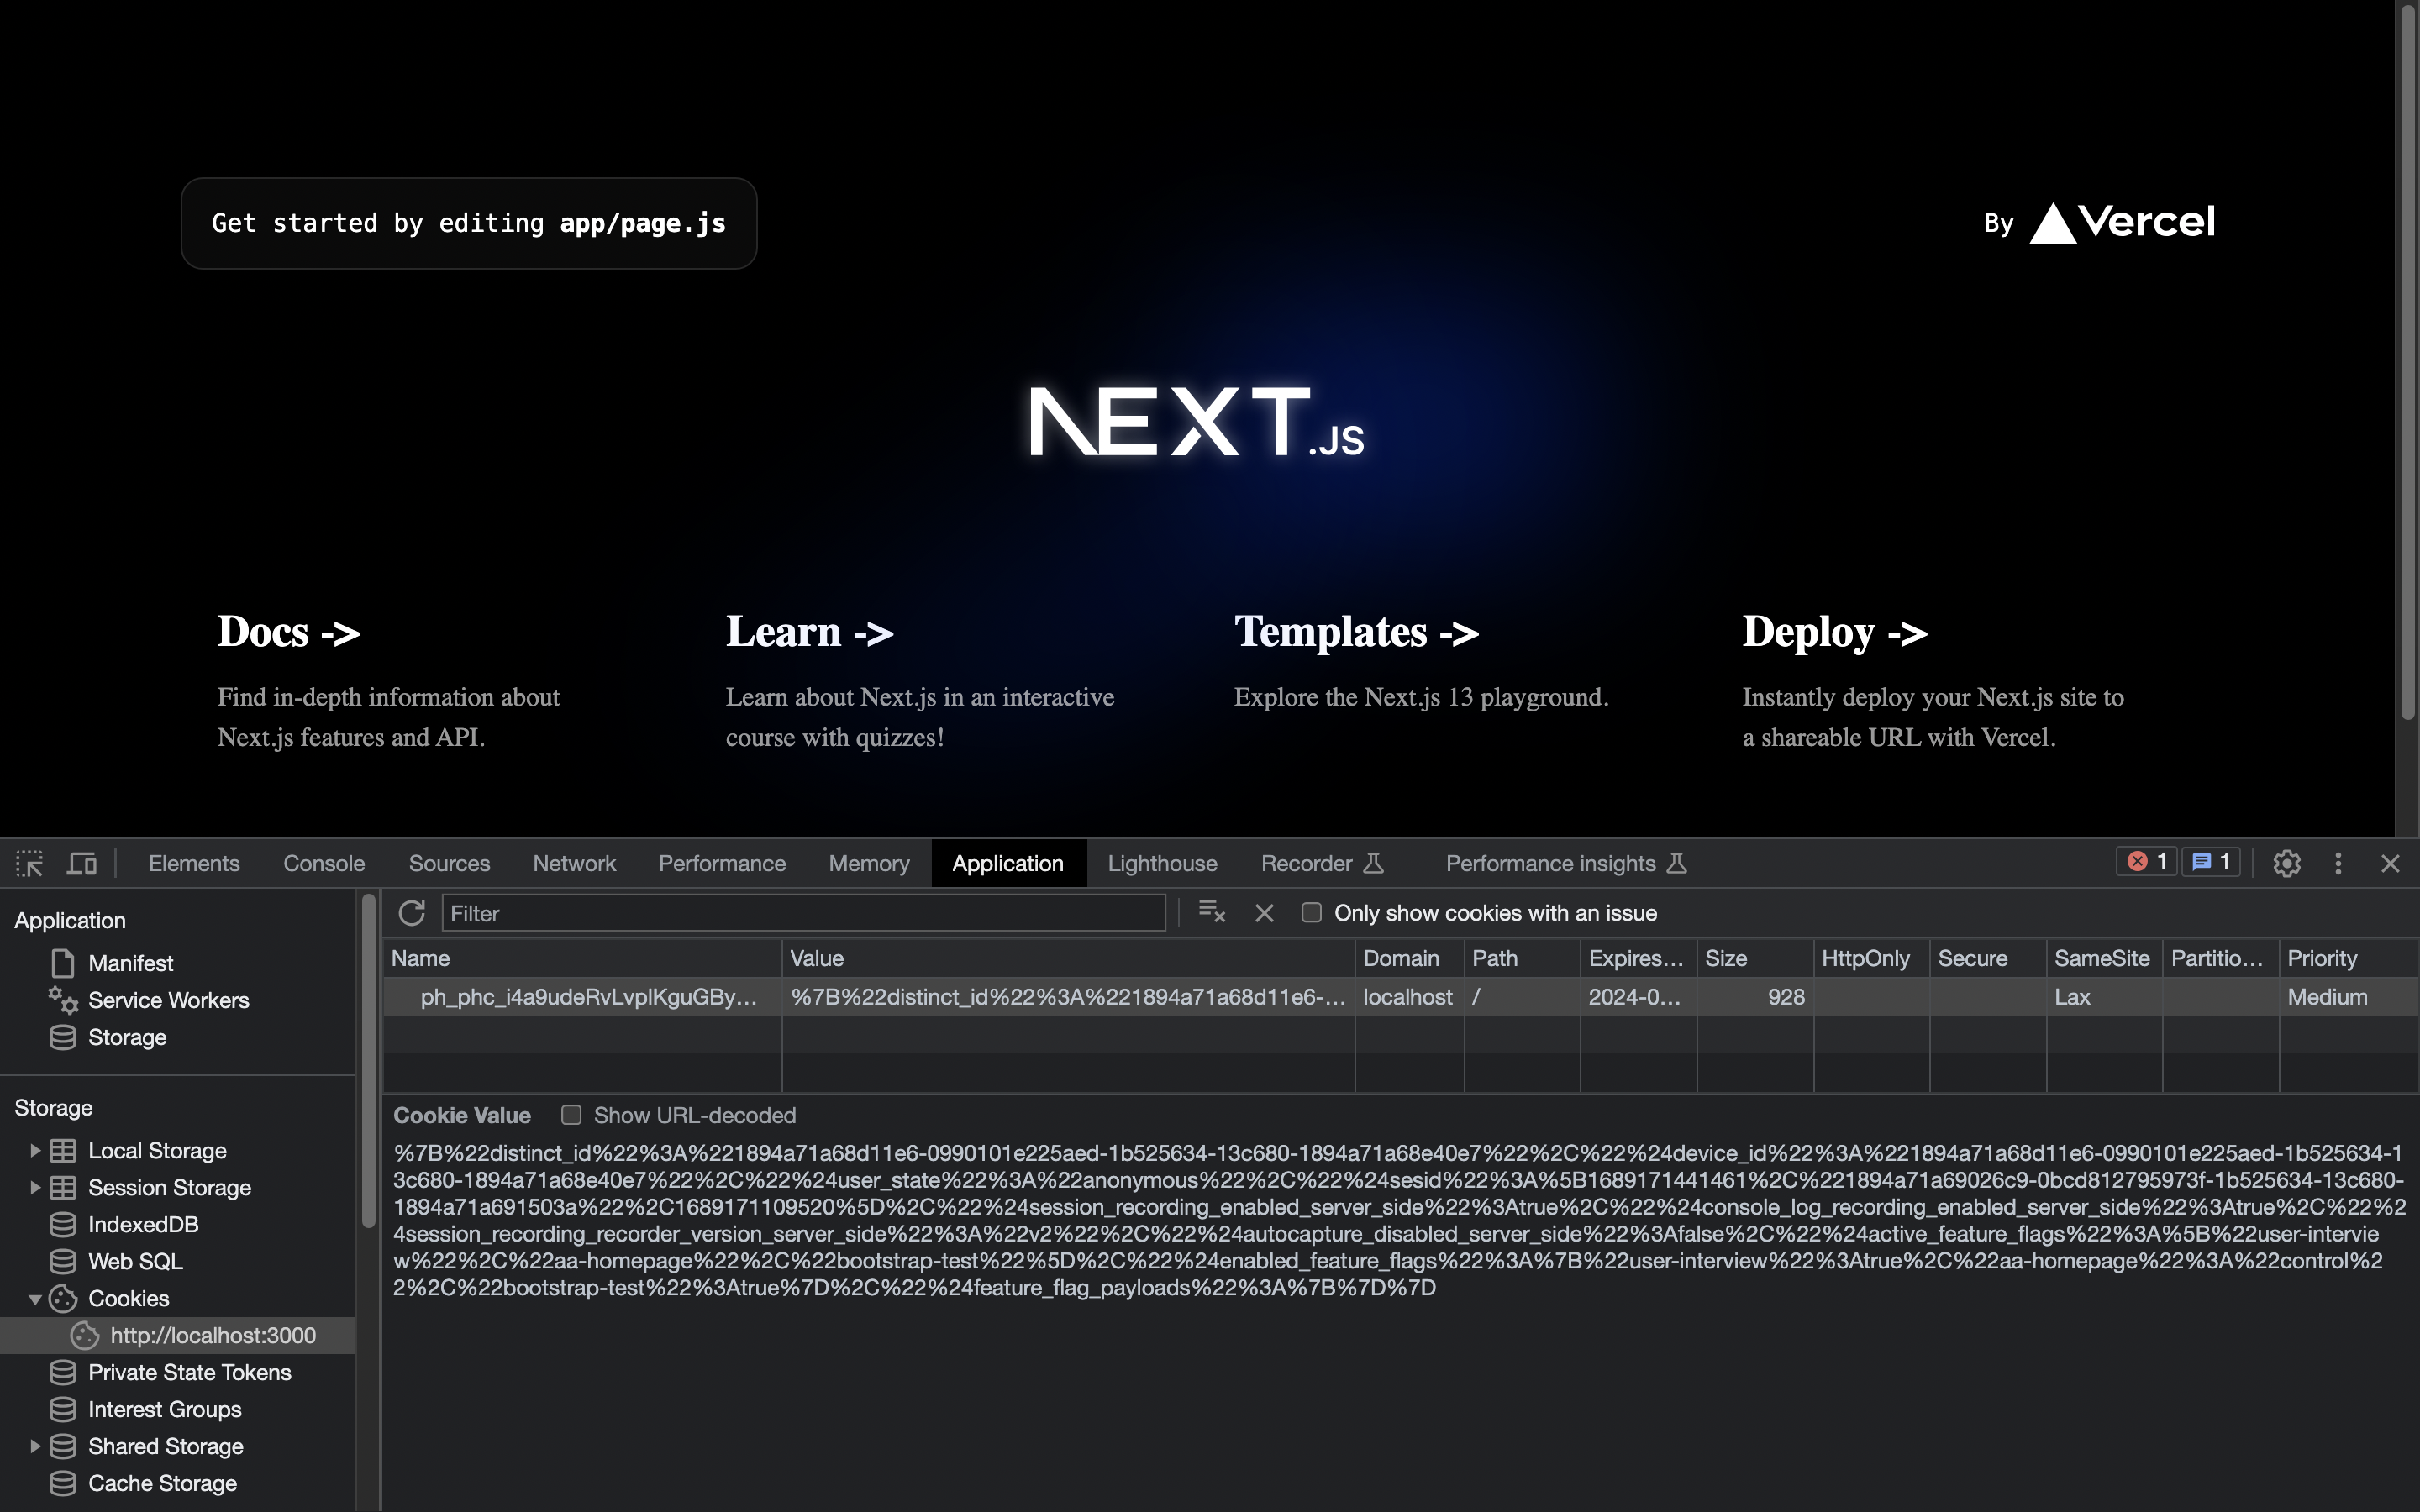
To ensure compliance with privacy regulations like GDPR, you may need to ask for content from users to track them using cookies. PostHog has tools to help you give users the ability to opt-in or out.
In this tutorial, we build a basic Next.js app, set up PostHog, build a cookie consent banner, and connect it to PostHog’s tracking and cookie management.
Don't want cookies? Here's how to use PostHog without cookie banners.
Create a Next.js app and add PostHog
First, once Node is installed, create a Next.js app. Run the command below, select No for TypeScript, Yes for use app router, and the defaults for every other option.
To add PostHog to our app, go into your app folder and create a providers.js file. Here we create a client-side PostHog initialization using the project API key and instance address (you get them from your project settings). Make sure to include theuse client directive as well as a check for the window as initializing PostHog needs to happen on the client-side. Altogether, this looks like this:
We can then import the PHProvider component from theprovider.js file in our app/layout.js file, and wrap our app in it.
After setting this up and running npm run dev, PostHog starts autocapturing events, but a PostHog-related cookie is set for the user without their consent. So, let's set up a cookie consent banner!

Creating a cookie banner
Create another file in the app folder named banner.jsfor the banner component with a bit of text explaining cookies and buttons to accept or decline.
Importantly, to avoid a hydration error, we must check if the frontend has mounted and only show the component if so. We can use useState and useEffect to do this. Together, this looks like this:
After creating this, we import the component into layout.js and set it up inside our PHProvider component:
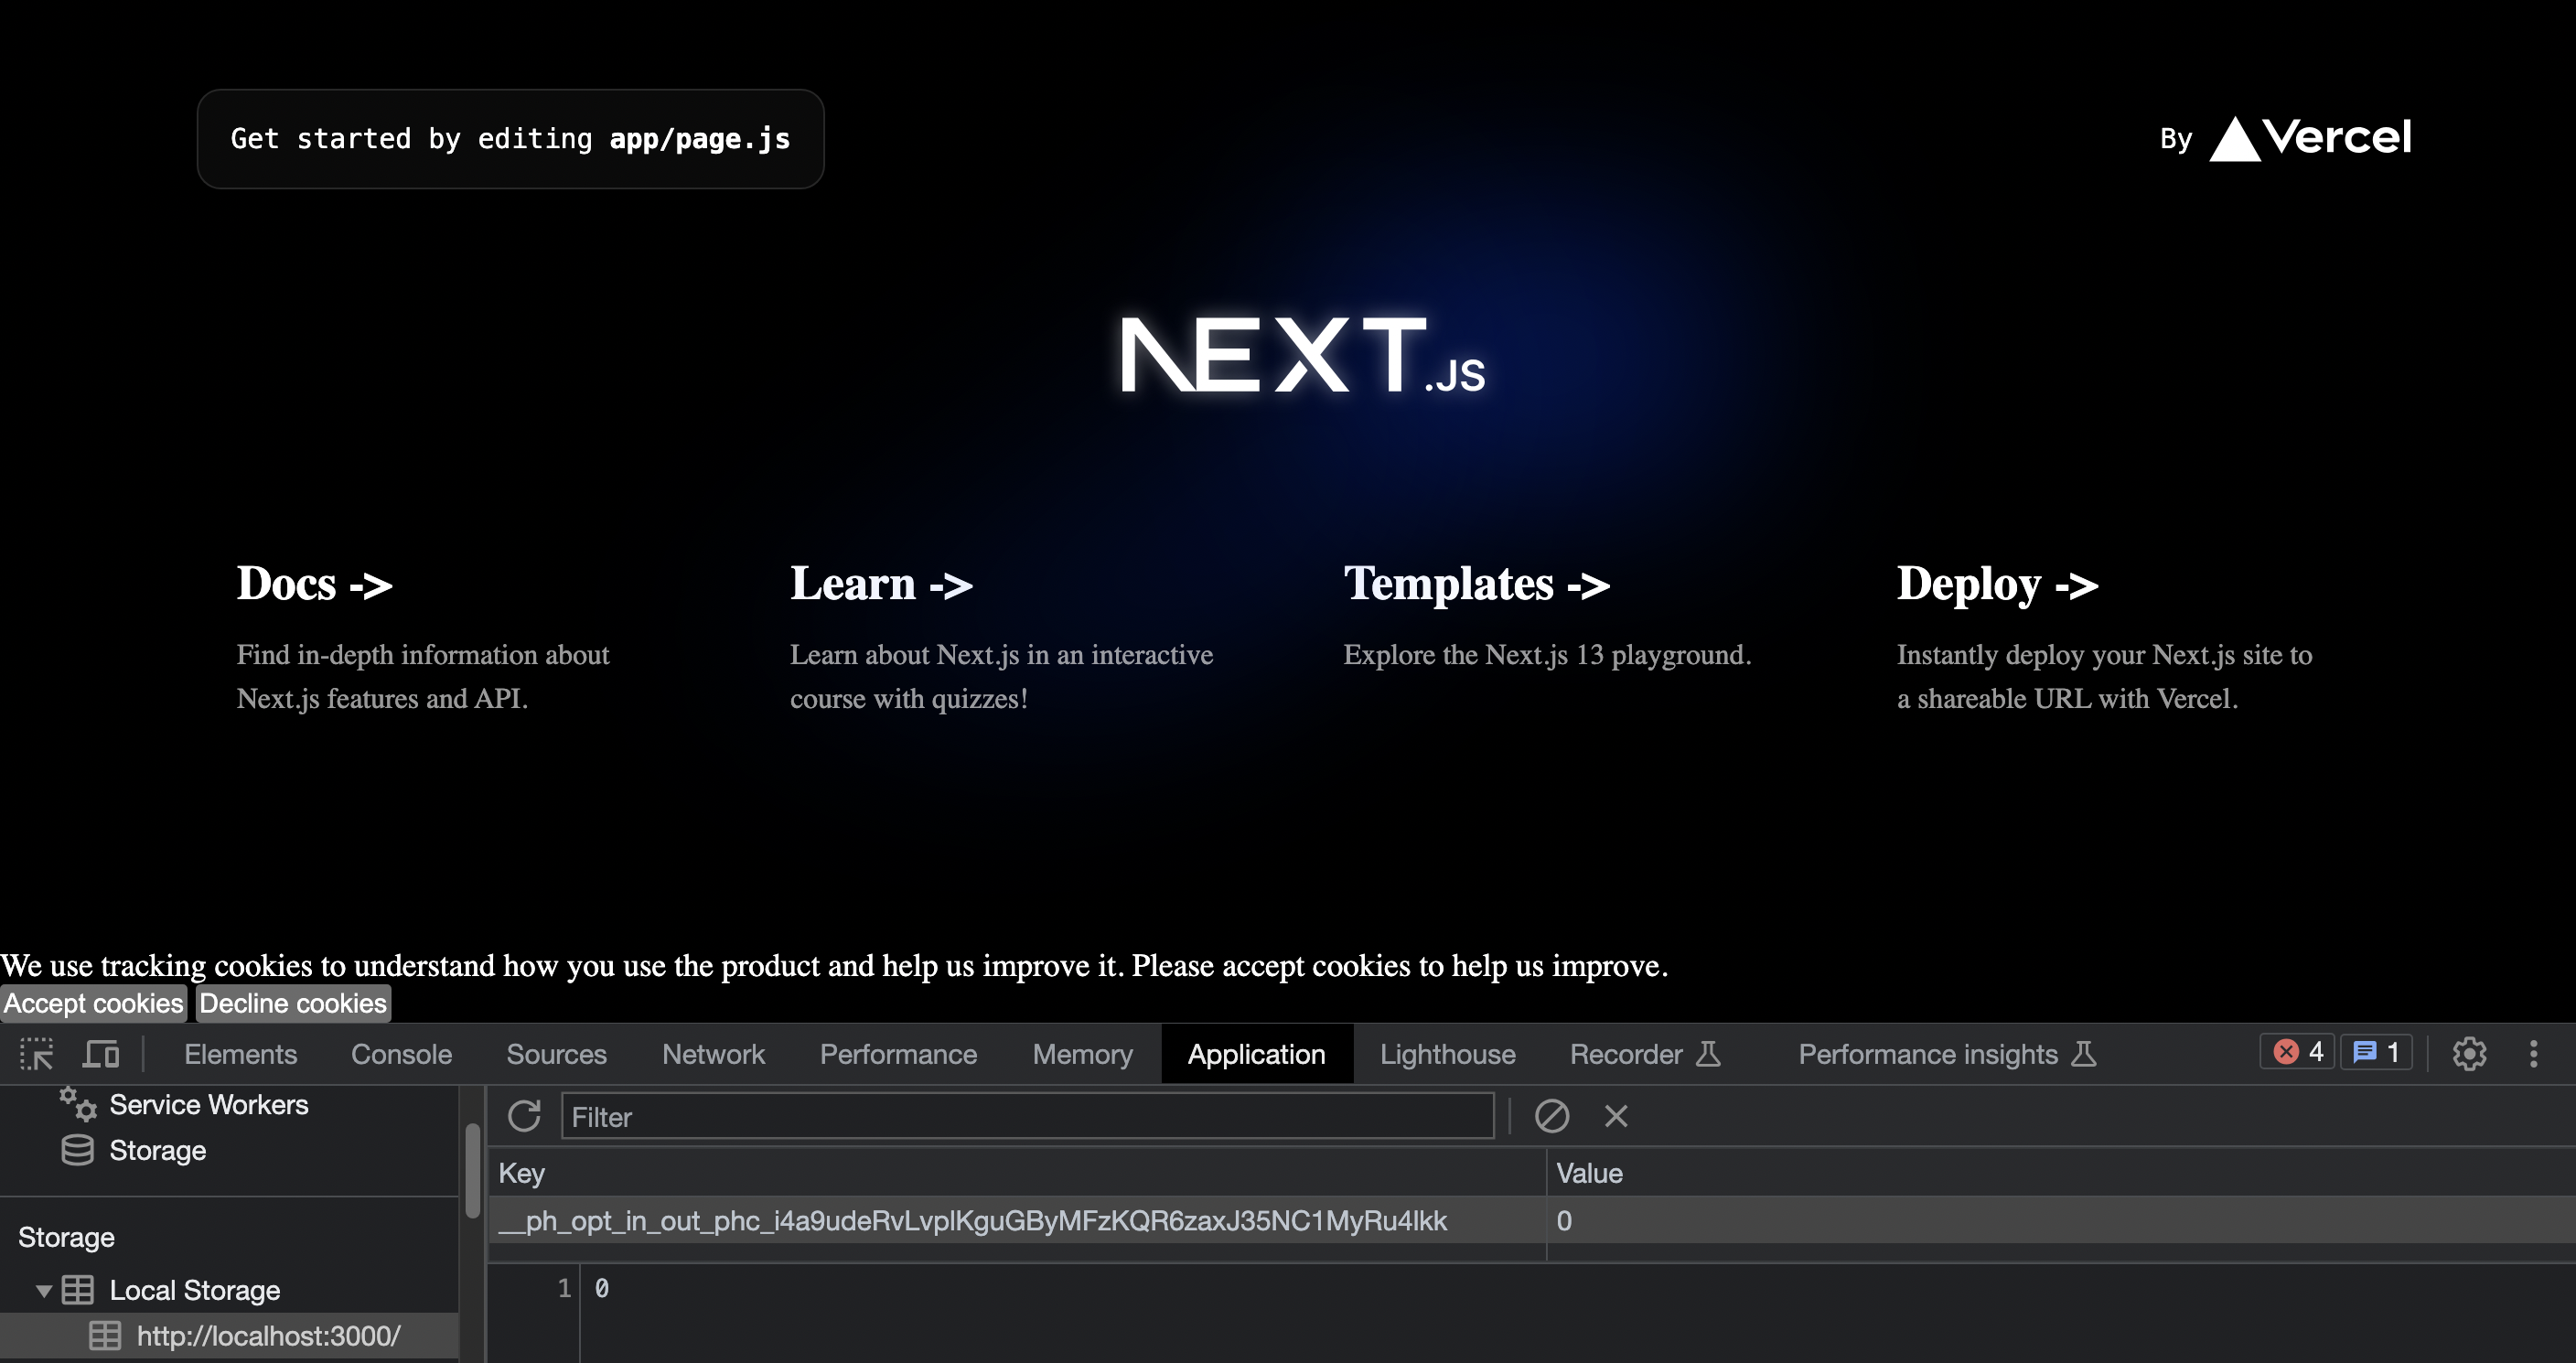
This creates an ugly but functional cookie banner at the bottom of our site you can customize and style how you want.

Adding the opt-in and out logic
To make this cookie banner control the cookies, we add PostHog and use it to opt-in or out of tracking cookies. Import the usePostHog hook and set up functions to either trigger the PostHog methods opt_in_capturing() or opt_out_capturing() depending on what button they click.
Now when we click these buttons, they set a value in local storage saying whether the user has opted in or out. If they opt-out, it also removes the set cookies.

Conditionally rendering the banner
Lastly, we need the banner to disappear when the user has opted in or out and not show up on future visits if so. To do this, we can check the methods has_opted_out_capturing and has_opted_in_capturing, and if either is true, return null (like we do before the frontend has mounted). Our useEffect call now looks like this:
This hides the banner on future visits, but we also want to hide it right away when they click the button. To do this, we call setShowBannner(false) when users click either of the cookie buttons like this:
Now we have a banner controlling tracking cookies for our app that renders conditionally based on if they accepted cookies or not.

